
Building beautiful websites with Elementor is straightforward. But if your page is slow to load, even great design can’t save it. In today’s online environment, users expect instant results—just a few seconds of delay can mean high bounce rates and lower conversions.
This tutorial will guide you, step-by-step, through optimizing your Elementor website for speed—while keeping the design polished and fully functional.
Step 1: Choose a Lightweight, Elementor-Friendly Theme
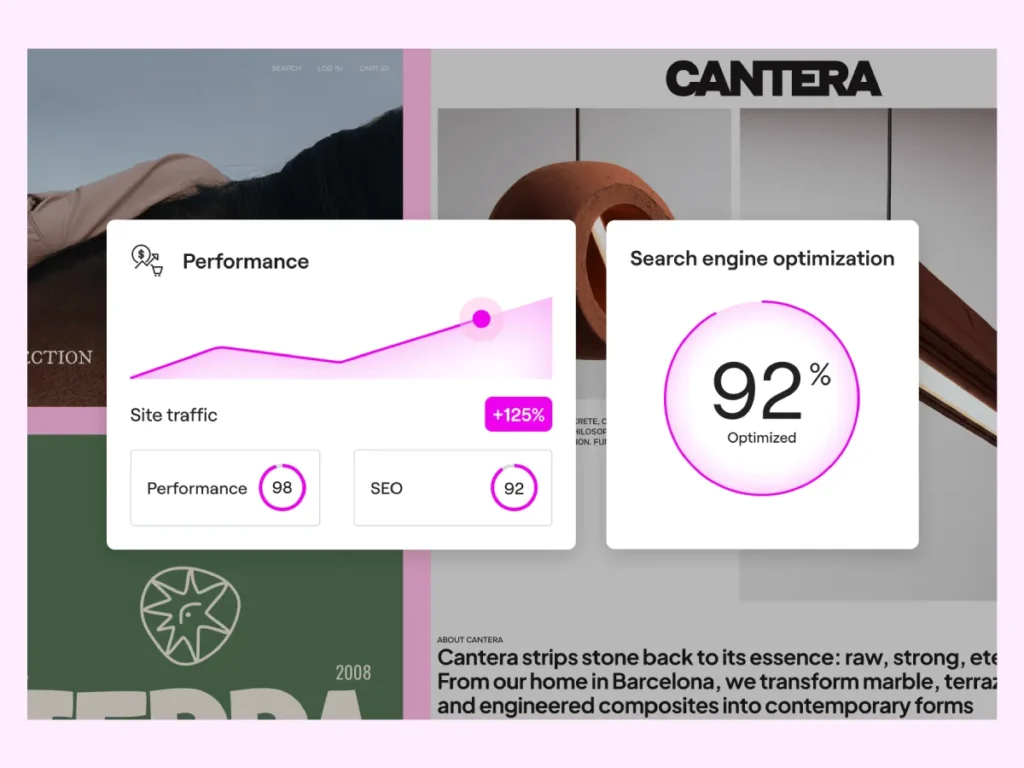
Your theme forms the foundation of your site’s performance. Even when you build with Elementor, a bulky theme can slow everything down.
Do this:
- Navigate to Appearance → Themes in your WordPress dashboard.
- Activate one of these well-known, fast, and Elementor-compatible themes:
- Hello Theme (native to Elementor)
- Astra (lightweight and flexible)
- GeneratePress (minimal and fast)
Why it matters: Multipurpose themes often include unnecessary scripts, styles, and widgets. Removing those helps reduce page weight and improves load performance.
Step 2: Use High-Performance Hosting

Page speed depends heavily on your hosting environment, especially for script-rich Elementor pages.
Do this:
- Choose one of these fast hosting providers:
- SiteGround
- Hostinger
- WP Engine
- Prefer hosts using LiteSpeed or NGINX servers.
- Make sure you have SSD storage, dedicated PHP workers, and HTTP/2 or HTTP/3 support.
Tip: Test your site’s TTFB (Time to First Byte) with tools like GTmetrix or WebPageTest. Aim for under 200 ms.
Step 3: Limit Elementor Widgets and Add‑ons

Every widget and add-on loads extra scripts and styles on your page. Keep things minimal.
Do this:
- Go to Plugins → Installed Plugins and deactivate unnecessary Elementor add-ons.
- Use native Elementor widgets (Heading, Image, Button, Spacer, Text Editor) whenever possible.
- Replace nested or redundant widgets with a simple HTML block if needed.
Step 4: Build with Elementor’s Container (Flexbox) Layout
Compared to older section-and-column setups, Elementor’s Container layout is optimized for reduced HTML output and better performance.
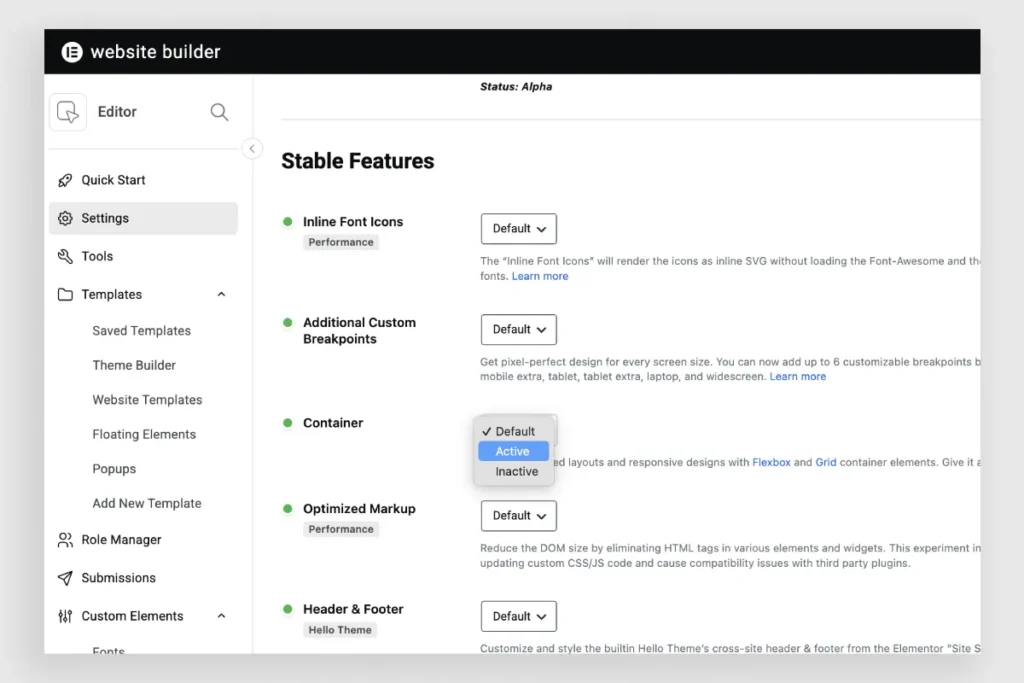
Do this:
- When structuring your layout, switch to using Containers instead of nested inner sections.
- Use Flexbox settings to align content, maintain spacing, and improve responsiveness.
- Reduce the number of nested elements to flatten the DOM tree and speed up rendering.
Step 5: Enable Elementor Performance Features

Elementor includes built-in performance options that help reduce code output and loading time.
Do this:
- Go to Elementor → Settings → Performance.
- Enable:
- Improved Asset Loading
- Optimized DOM Output
- Inline Font Icons
- Font Icons SVG
- Lazy Load Background Images
- Go to Elementor → Settings → Advanced, and set:
- CSS Print Method → External File
(this offloads CSS output to an external file instead of inline)
- CSS Print Method → External File
Step 6: Optimize Images—Compress and Convert to WebP
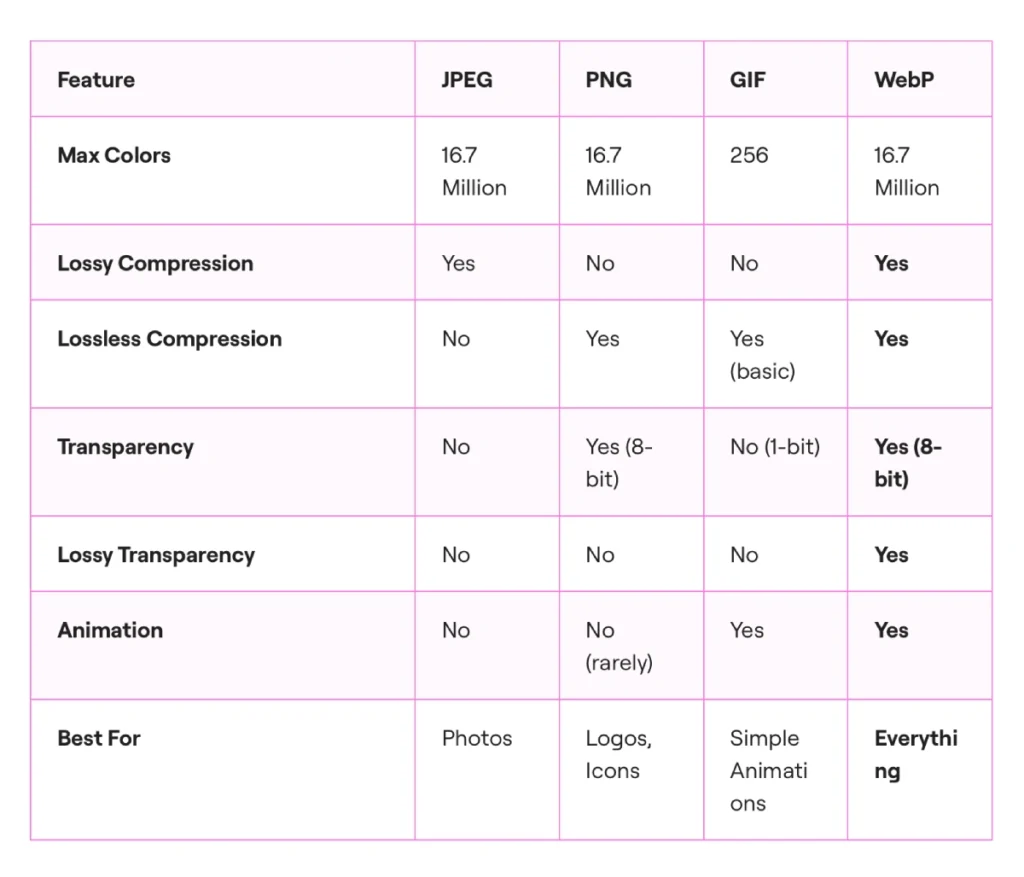
Images are often the largest part of a website’s payload.
Do this:
- Resize images to actual display dimensions (e.g., don’t upload 4000px-wide files if they display at 800px).
- Use compression tools like TinyPNG or Squoosh before uploading.
- Convert images to WebP format when supported by your server.
- Use Elementor’s Image Widget and enable Lazy Load for off-screen images.
Step 7: Fine-Tune Layout and Widget Visibility for Mobile
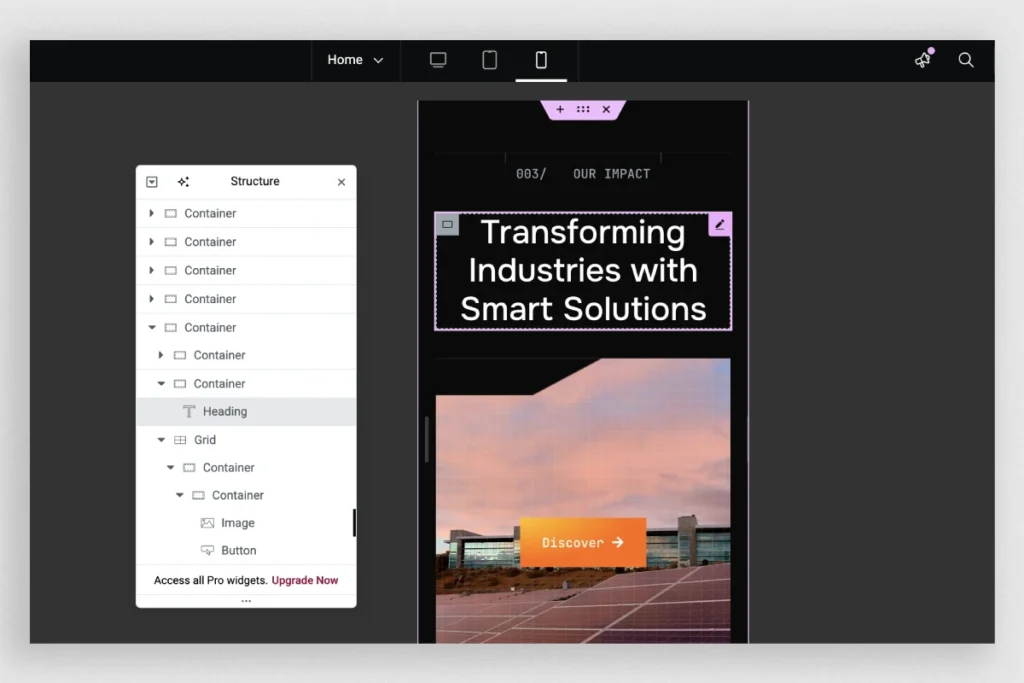
Over 60% of traffic visits sites on mobile devices. A design optimized for desktop only won’t suffice.
Do this:
- Launch the Elementor editor and switch to Responsive Mode (desktop, tablet, mobile).
- Adjust typography, margins, and padding per device for readability and layout balance.
- Hide non-essential elements—such as animations or large images—on mobile to reduce load.
Step 8: Limit Fonts and Font Weights

Excessive font loading can add substantial kilobytes to each page.
Do this:
- Stick to no more than one or two font families.
- Limit font weights (avoid loading multiple variants—e.g. 100, 300, 400, 700).
- Use system UI fonts when possible for ultra-fast performance.
Step 9: Simplify Layout Using Fewer Sections

Overly segmented layout structures bloated HTML and slower render times.
Do this:
- Consolidate elements into fewer sections and reduce use of inner sections.
- Use Containers with Flexbox to group multiple elements cleanly.
- Structure your page into fewer, flatter rows instead of deeply nested layouts.
Step 10: Deactivate and Remove Unused Plugins
Unused plugins still run code on your site. Cleaning them out improves speed and reduces risk. Deactivate and delete unnecessary plugins.
Step 11: Minimize Custom Code
Custom CSS and JS can add power—but also payload.
Do this:
- Keep custom code minimal, combining where possible.
- Only load third-party scripts when needed (e.g. avoid unused tracking or chat scripts).
- Prefer Elementor’s built-in functionalities over custom JavaScript whenever possible.
Step 12: Implement Lazy Loading and Script Deferral
Load content only when needed to avoid heavy upfront loading.
Do this:
- Install and configure a caching plugin:
- WP Rocket
- LiteSpeed Cache (for LiteSpeed servers)
- FlyingPress
- Enable:
- Browser caching
- HTML/CSS/JS minification
- GZIP compression
- Lazy load images and videos
- Defer or delay JavaScript execution
- File combination, when safe
Tip: Thoroughly test the page after enabling these settings to verify compatibility and avoid layout breakdowns.
Step 13: Optional—but Powerful—A/B Testing
If you want to determine how design affects speed and conversion, consider testing variations.
Do this:
- Install Split Test for Elementor or use Elementor Pro’s built-in A/B testing feature.
- Create two versions of your page:
- A rich design version
- A simplified version with fewer images or widgets
- Track performance metrics (load time) and conversion metrics (form submissions, clicks) through Google Analytics or Hotjar.
Step 14: Use Speed Audit Tools to Validate Performance
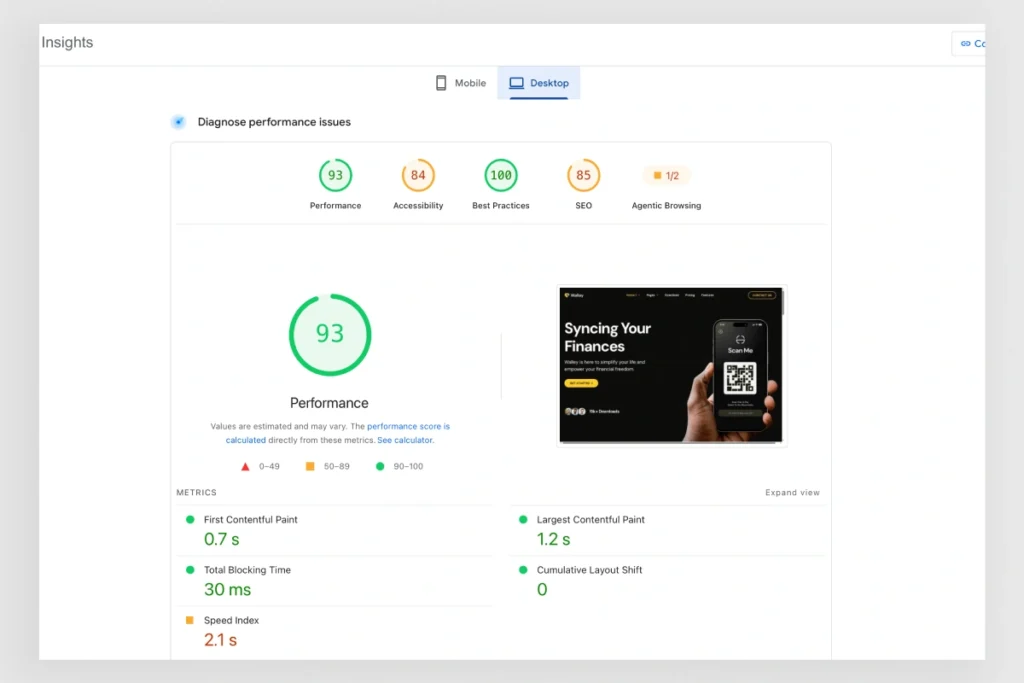
You should never guess how fast your page loads. Use audit tools.
Do this:
- Run your page through:
- Google PageSpeed Insights
- GTmetrix
- WebPageTest
- Key metrics to track:
- Largest Contentful Paint (LCP) – target under 2.5 s
- First Contentful Paint (FCP) – target under 1.8 s
- Cumulative Layout Shift (CLS) – target under 0.1
- Use both mobile and desktop reports for accuracy.
Final Thoughts: Optimize Without Sacrificing Design
Elementor empowers you with high design flexibility—but without strategy, it can lead to page bloat. Speed matters. A fast, lightweight website not only improves user experience but also enhances performance, conversions, and SEO.
To recap:
- Use a fast and clean theme
- Host on a high-performance server
- Minimize widgets, plugins, and custom code
- Optimize images and fonts
- Enable speed features and caching
- Test, measure, and refine
By following this step-by-step tutorial, your Elementor websites can both look fantastic and load quickly—helping you retain visitors and convert leads.